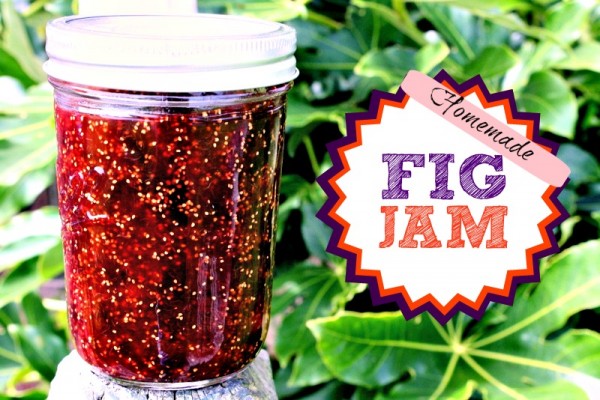
Just look at that bejeweled jar of sweet figgy-ness.
And the most surprising part of making jam for the first time ever? It was SO incredibly easy.
Seriously. I wish I had known that making jam is actually very simple and is absolutely nothing to fear. If I knew then, what I know now, I would have done this ages ago.
My mother-in-law, Joy, just recently made fig jam with her mother-in-law (Brad’s grandmother) and offered to make some with me too. All in all, the process took about 2 1/2 hours total, and most of that was spent, casually stirring the pot every few minutes or so while I looked at Pinterest. Clearly, this is very labor intensive.
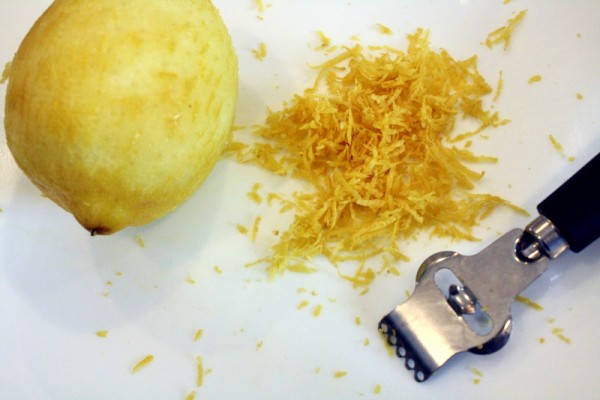
Joy likes to put slices of lemon in her jam, which you can actually eat along with the jam. I’ve tried the preserved lemon and it is just a bit too lemony for me, so I opted to use lemon zest instead.
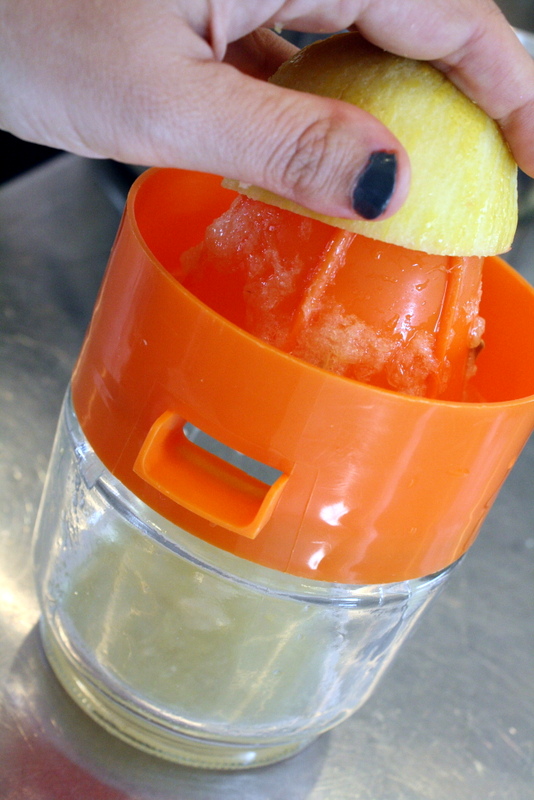
I also added the juice of one lemon.
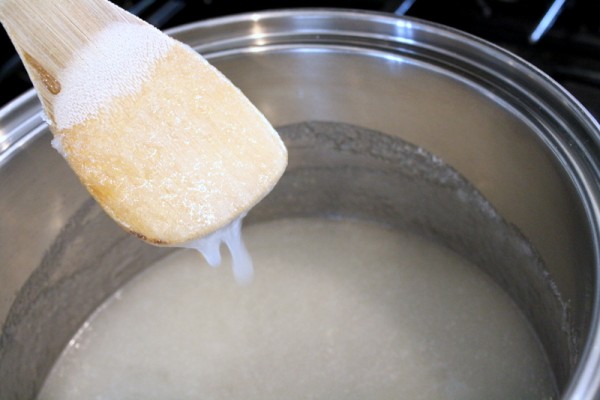
To get the jam started, we first combined the sugar with a bit of water over low heat until the two are completely married.
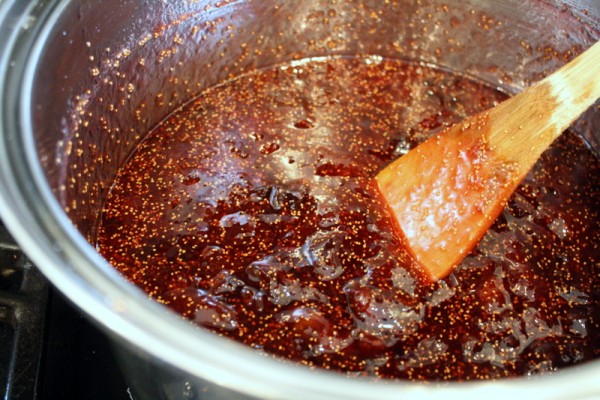
Then we added the lemon juice, zest, figs, and stirred continuing to cook on low uncovered for about an hour.
Here comes the time consuming part:
Next, we waited while the figs boiled down into jam. It needed to be stirred ever so often, with more stirring needed at the end. If I did this again, I would set my oven timer to remind me to stir the jam every 10 minutes, then every five minutes after 45 minutes pass.
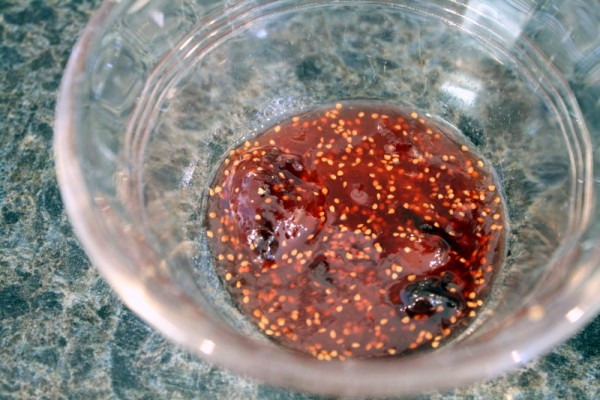
After about an hour, we spooned a bit of jam into a small bowl so I could test the consistency. I thought it was thick enough, so we turned the heat off and began jarring the jam. If I wanted the jam to be a bit thicker, we would have continued to cook the jam until it reached my desired consistency.
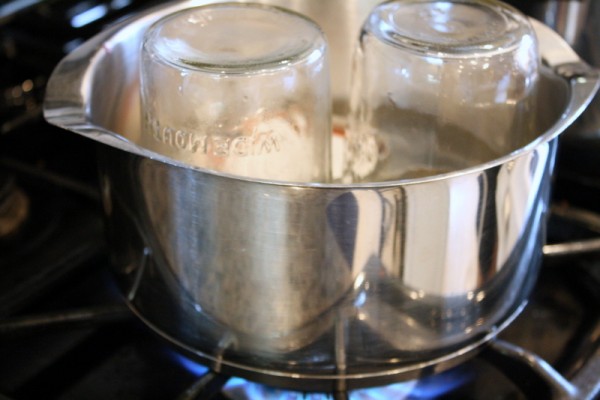
Jarring the jam is the part that has always been the most frightening for me. In order to keep jam for a while unrefrigerated and unopened, we had to sanitize and seal the jars, which is done by boiling them.
Basically, we bring some water in a large pot (2 inches taller than the jar) to a boil, place our jars and lids (but not the seal) in the water and boil them for 10 minutes. Submerge the jar completely during boiling in order to sanitize the jar!
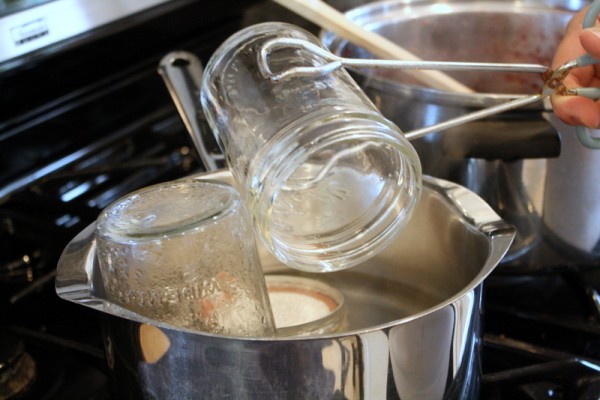
Then we remove the jars with tongs and set on a flat surface covered by a towel. A towel makes the surface less slippery.

We used a funnel and a measuring cup to spoon the jam into the jar. It’s important to wipe the outer edge of the jar with a clean towel or rag, or the lid will not seal.
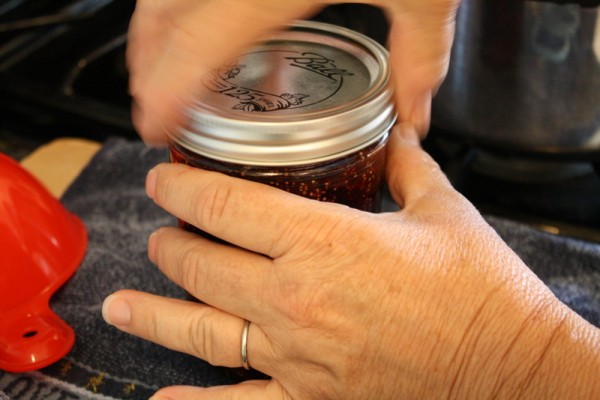
When the jar was full, leaving about half an inch of room from the top, we removed the lid with the tongs and placed on top of the jar. Then we used our hands to screw the lid on tightly. Only the lids with two parts — a rim and a separate lid — will allow the jars to seal.
After the jar was closed, we set the jars to the side and waited for the jar to seal. It’s really obvious when it happens because the sealing makes a loud “POP!”. This can take anywhere from five minutes to an hour. It took about 45 minutes for ours to completely seal.
I would wait at least an hour and a half to two hours to see if it would seal, and if it doesn’t seal after that, Joy says you can remove the jam, wash the jar and lid, re-boil the jar and lid, then try again. But this didn’t happen to us so I’m guessing it doesn’t happen very often.
1/4 cup water
3 pounds fresh figs, stems removed
juice and zest of 1 lemon
Combine sugar and water in a large pot on the stove and cook over low heat. Stir continuously until sugar and water are fully combined.
Add figs, lemon zest and juice and stir to combine. Cook on low heat for at least one hour, stirring regularly. Stir more often the last fifteen minutes of cooking time.
Check the consistency of the jam. If the jam is thick enough to your preference, turn off heat. Continue cooking to further thicken jam.
Sanitize 3 jars and their lids by boiling in a large pot of water for about five minutes. Remove jars with tongs and use a funnel and measuring cup to spoon jam into jars. Make sure the outer rim of the jars are clean, then remove lids with tongs, place on top of jars and screw the lid on tightly.
Set jars aside and listen to make sure the lid seals.
Via the comments a reader has suggested submerging the entire jar into boiling water to thoroughly sanitize the jars.
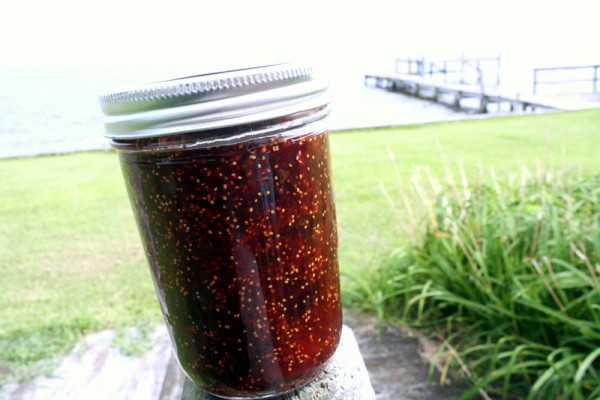
According to the National Center for Home Food Preservation, a jar of unopened jam for can be kept on the shelf for up to a year, and once opened can be kept in the refrigerator for up to a month.
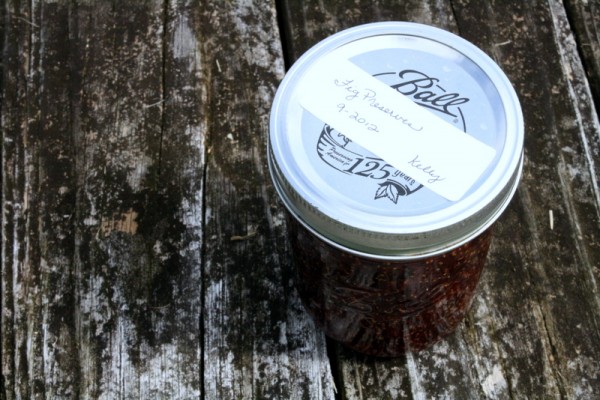
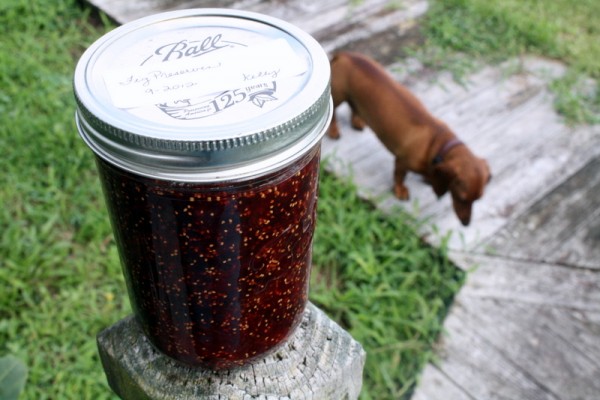
We labeled my jars of fig jam to make sure I remembered to eat them within a year.
Something tells me that won’t be a problem.
You might be wondering why this recipe makes 2 1/2 – 3 pints. In other words, why don’t I know how much this recipe really makes? Well, that depends on the liquid content of the figs and how long you cook them. The less you cook them, the more jam it will make. But if you cook it longer than an hour for a thicker jam, this recipe is going to yield slightly less.
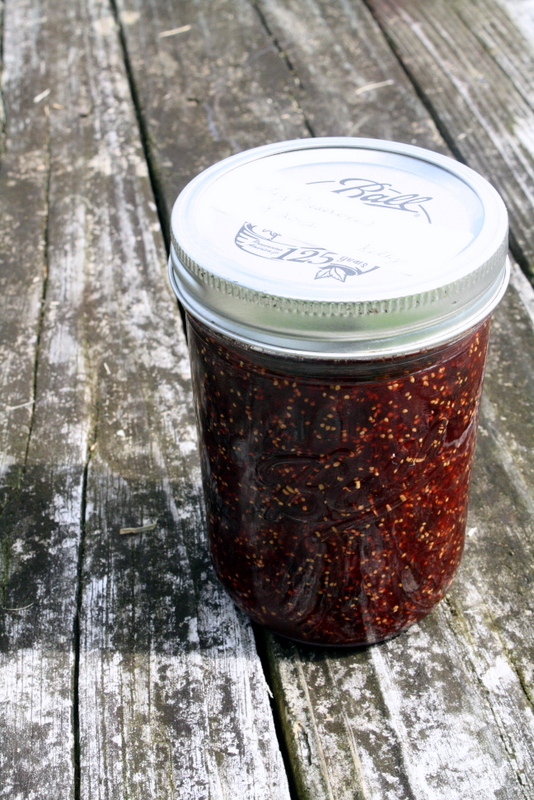
I’m planning to keep one jar for myself, give one to my mom, and then I’m going to ship the small jar to someone else (it’s a surprise).

Making jam was so easy (albeit a little time consuming). It’s something that I could definitely do on a Saturday morning while cleaning the house or on a lazy Sunday afternoon between important things like Pinterest and painting my nails.
The wheels in my brain are turning with all the jam possibilities: strawberry, blueberry, pumpkin butter, apple butter…
Next up — churning my own butter.
Just kidding. We’ll leave that to the professionals.


Looks so easy I might have to give it a try!
If you do, please let me know if you like how it turns out.
Looks delicious! 🙂 I do love the jewel-like color of the finished product!
Thanks Diana. 🙂
The pictures you took here and your graphics are beautiful. Oh, and the fig jam is delicious.
I tried this recipe with figs and blackberries (leftovers from the farmer’s market) and it turned out great! Thank you for the recipe and inspiration to use up my figs!
So glad you liked it!
Pingback: Figs à la Claire | Foodie Fresh
Pingback: A New Found Love for the Raw Fig « Simply Nutricising
Trying this for the first time, bought a house a few months ago with a Mission Fig tree. There are so many figs I can’t keep up with this birds. I pick as many as I can, and just let the birds have the rest. I will let you know how the jam turns out.
Hope they turned out as great as mine did!
Im trying today with green figs..8-9-13
I hope it turns out as well as mine! Let me know, if you get a chance. 🙂
I was concerned about the amount of sugar. Is ! 1/2 pounds correct? Other recipes i have looked at have any where from 1 1/2 to 2 cups of sugar. Just wanted to make sure the sugar amount is correct. Thanks
Hi Carolyn, 1/2 pound is about equivalent to 1 cup but using weight is a more exact measurement.
I’m pretty new to canning, but I’ve taken a couple of classes, and I’m not sure that this is a safe canning recipe.
I don’t think jam that hasn’t been processed in a boiling water bath is shelf stable for a year. The boiling water bath doesn’t just seal the jars–it heats the jam to eliminate any potential bacteria. Especially because this is a low-sugar jam recipe, I think the boiling water bath is necessary unless you’re storing the jam in the fridge.
Additionally, when boiling jars, I think the entire jar needs to be submerged in the water to sterilize it, and should be boiled for ten minutes. Lids really shouldn’t be put in boiling water–just simmering water–to prevent the sealant from becoming too hot and melting completely.
I don’t mean to come across as harsh or overly critical–I just don’t want anyone to get sick! 🙂
The interesting thing about canning is that there are many many different methods and they all say that the others are wrong. For me, I feel safest using the method taught to me by my family. They make tons of jams at a time, which all go into the pantry, except one which goes into the fridge to eat immediately. No one has gotten sick yet. I also find it a bit funny that you consider this a “low sugar” recipe when the commenter before you commented on the fact that I used so much sugar in the recipe. To each their own.
For reference, please look at this reputable source for canning – http://www.countryliving.com/cooking/about-food/sterilizing-canning-jars
I am the only person in the household that eats figs, Each year I get dozen more from the tree and have been freezing them. This year I decided to give a try at making preserves / jam. After searching the web I came across your site. Thank you for recipe. The touch of lemon is wonderful. Loving my preserves!
Thanks for the recipe, here in Australia figs at the market are $1 each. Luckily I have a brother-in-law who has an old gnarly tree and picks them before the birds get them and then he throws them in the freezer for me. I also added some stem ginger and some vanilla paste.
Yikes! Well here in the States the window of fig season is SO short. They’re definitely cheaper, but you can’t even find them 11 months out of the year.
Hi,
Just wondering how you prep your figs?
The consistency of your jam looks quite smooth with out large pieces of fig.
It might have had something to do with the kind of figs we used. They were beautiful figs which you can see in this post — http://foodiefresh.com/recipe/figs-a-la-claire/. We literally did nothing to the figs but remove the stems before adding them to the pot. The figs were super ripe, which probably helped. I’m definitely not a jam making expert. I deferred completely to my mother in-law when writing this recipe. However, if I made jam and thought it needed a smoother consistency, I would probably wait for it to cool and then run it through a food processor or blender before canning it.
My Mom always finished her jars in a water bath. It doesn’t take long, just an extra maybe 10 minutes. That way you are sure your jam will be safe stored on the shelf. We’ve eaten ours for at least two years. Haven’t been lucky enough to score a lot of figs. Mom put very thin slices of lemon in hers too, I sort of like it that way myself.
I made a dozen half-pints of what Mom called Pear Honey today. I use my dishwasher on sanitize to sterilize my jars, rings & lids. I use a heated dry cycle so that the jars stay piping hot. Fill them, clean the rims, put them in the water bath kettle and process them for 10 minutes. They usually POP and seal within minutes of coming out of the kettle.
Love homemade jams, so much nicer than store bought!